A bit of downtime provided me with some time to explore CoreML and machine learning videos that Apple provided at WWDC 2017. And with lucky timing, Apple released the Turi Create as I was about to start up a demo project for fun.
The goal for this post is to take source images, train a model with Turi Create, to output a Xcode compatible mlmodel file for use with machine learning object detection with the CoreML and Vision frameworks.
Table of contents
Getting Started
Apple provides a some open source models to get started with CoreML. I really wanted to train my own model to use in my iOS app so I could prove to myself, then the world(!), that the training was successful.
Classify or Detect?
I tried classifying images first. This is great for finding objects in a photo, but it does not tell you where in the photo. It simply tells you the probability of an object being found.
What I really wanted was object detection, which would allow for me to draw a nice box around the object that it found. As Turi Create puts it:
Object detection is the task of simultaneously classifying (what) and localizing (where) object instances in an image.
There is documentation about training and developing your own model on the Turi GitHub repository. There was a lot of trial and error to understand how to actually train the model.
Turi Create Installation
The first step is to install Turi Create which I won’t duplicate here. It also makes sure that you are running Python 2.7 in a virtual environment.
Preparing Images to Train the Model
Collecting Images of Object
Now we need to gather source imagery for training the model. The more images the better. Currently Turi Create supports CUDA on Nvidia graphics cards, which can train your model in orders of magnitude faster that with the CPU. (On my CPU training 30 images, with 1000 max iterations, took nearly 3 hours 😬)
Turi Create cannot currently be trained to find only one object in an image to create the intermediate step, so it must be contrasted with a separate object. Even if it contains only one other image of the other object. The example given, cats and dogs are trained, based on the directory the imagery is contained in. It is always a good idea to keep the images separated. I followed this same process, and did not do any pre-processing on these other images at all.
Processing Images
My test was to train and find the Slalom logo. Slalom is a company I recently started working for, and was using my downtime to build a demo for a lunchtime talk.
My initial thought was to crop as closely around the object I wanted to train. When I was finally done training my model with the steps below, it actually was very inaccurate. It would solely look for the object that took up a large percentage of the photo, instead of finding it at various sizes. My thought was that the bigger the object in the photo the more detail it could gleam to detect it. That turned out to be incorrect in my testing. Also at this close crop it seemed that the model could only be detected at a certain angle and when taking up most of the image frame.
 Example images from the first test
My second test was with the same crop, but rotated the images to be able to help it detect at different angles. This quadrupled the number of images. I made an Automator script that rotated 90º, 180º, and 270º, resized (to 600px on the longest edge), and converted to black and white. After training, it was even less accurate than the first test. The black and white conversion seemed to hurt recognition quite a bit, and rotation didn’t seem to help the specific angle detection or the needing to be full-frame to be able to detect.
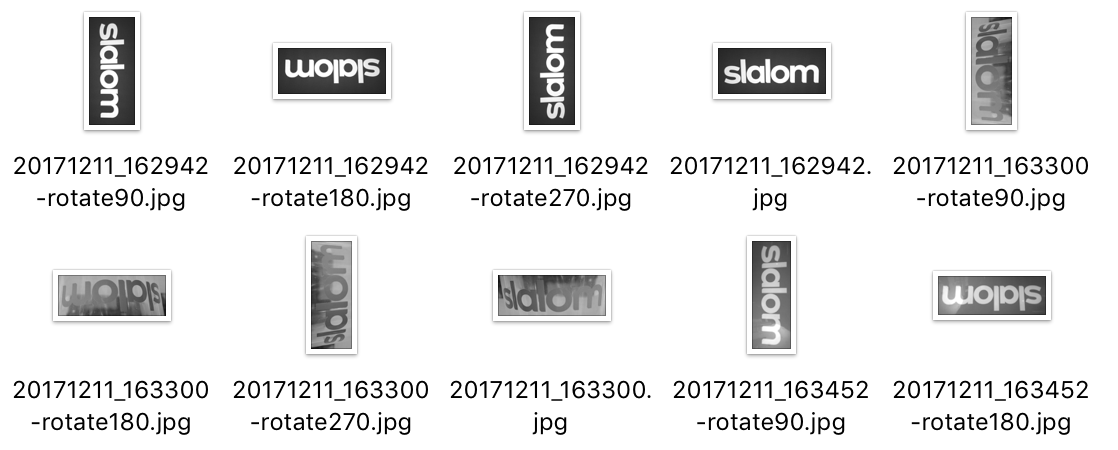 Example images from the second test
My last test kept most of the images roughly the same as the source material. I gently cropped a view to give more context around the object, resized to 600px again, and kept them full color. I did not do any of the rotating in the previous step. I also added few more images to get the subject at different angles and sizes in the photos. This ended up being the most effective image set to train with and worked at most angles and at many different sizes in the recognition tests.
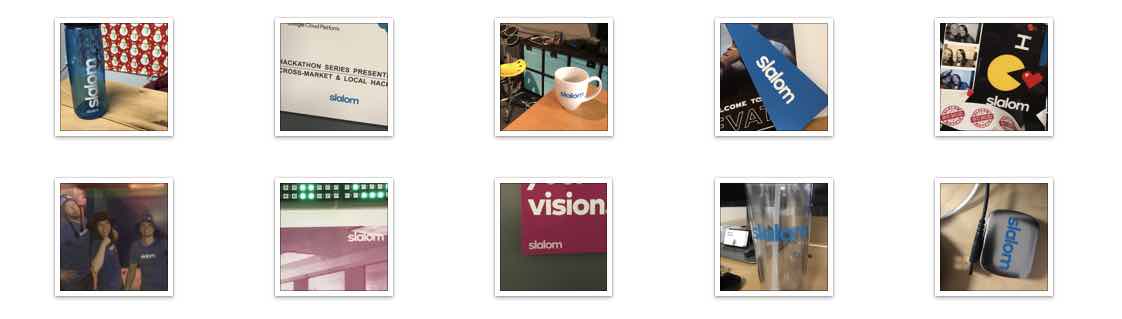 Example images from the last test
The Ground Truth Bounding Box
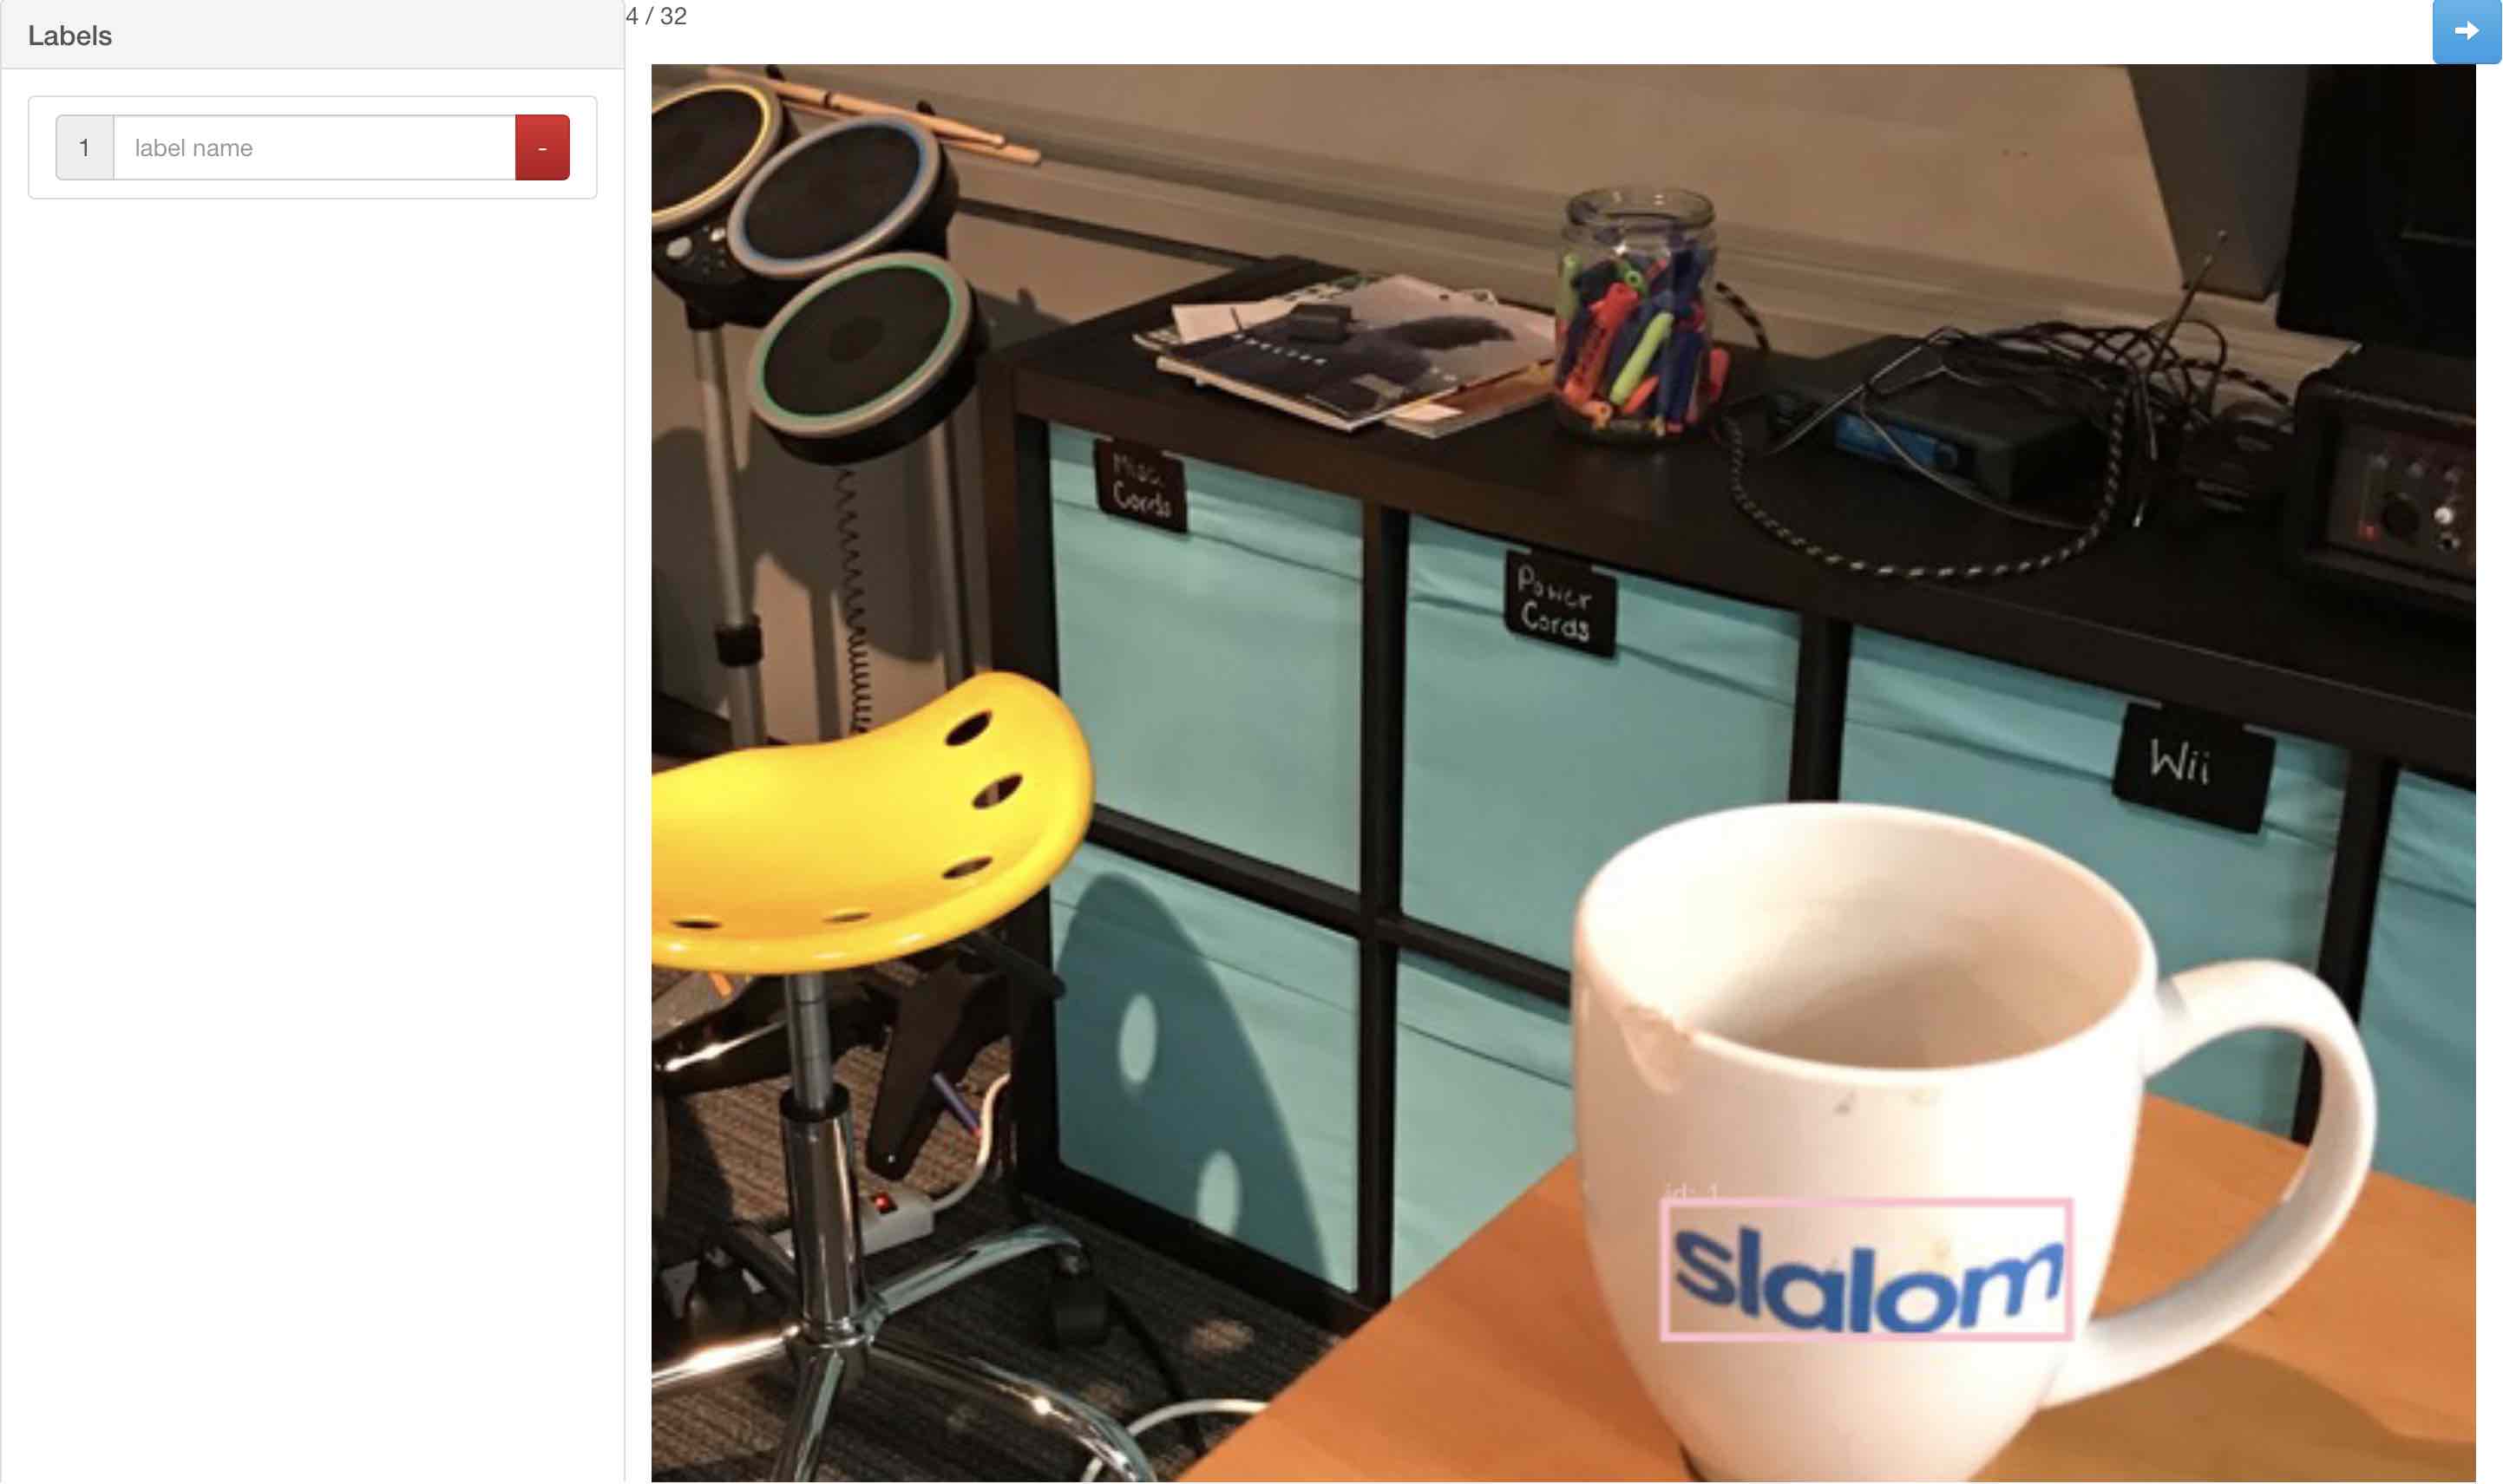
Next is setting up what they call the “ground truth” of the object in the images. If you want a rectangular bounding box out of your machine learning model, you must give it a bounding box for every source image. There are a lot of tools to do this and they all seem to require massaging of the output data, for now since Turi Create is a new tool.
I used Simple Image Annotator which is a Python library to generate a CSV of coordinate bounding boxes for your images. After installing I ran
python app.py ~/images/to/bound --out ~/directory/for/results.csvand then went to the local python site http://127.0.0.1:5000/tagger to start marking up boxes around the relevant parts.
- Click on one corner
- Click the opposite corner
- Delete and redo if mistakes were made
Since I was only training one item in the images, I did not add a label to the boxes, I assumed each was the item I wanted and only one box per image and will add when I massage the data.
The annotator outputs the coordinates in minX, minY, width, and height.
IMG_7941.JPG |
1 |
128 |
216 |
192 |
470 |
|
IMG_7942.JPG |
1 |
275 |
439 |
389 |
456 |
|
IMG_7943.JPG |
1 |
333 |
465 |
371 |
419 |
|
IMG_7944.JPG |
1 |
196 |
416 |
179 |
460 |
Turi Create requires the values in x, y, width, height, where x and y are the center coordinates of the bounding box (coordinate in the center of the width and height). Simple math can get this conversion done for us. While we’re at it, Turi Create demands that the bounding box be in a Python array of dictionaries format, in the case of multiple types of objects in your source images. The dictionary has a label, type, and coordinates and looks like (multi-line for clarity):
[
  {
   'label': 'objectLabel', # Your custom name
   'type': 'rectangle',
   'coordinates': {
                   'height': 67,
                   'width':164,
                   'x':357,
                   'y':422
                  }
  } # , {…} for multiple
]
This needed to be output in my CSV. I wrote a Python script convert.py to convert the output CSV from the Simple Image Annotator to an added annotations column. This script and the others below are in the GitHub repository I set up for this post.
1
2
3
4
5
6
7
8
9
10
11
12
13
14
15
16
17
18
19
20
21
22
23
24
25
26
27
# convert.py
import sys
import pandas as pd
import math
import os

if len(sys.argv) < 2:
    quit("Require input file")

fileIn = sys.argv[1]

objectLabel = 'Slalom'

csv = pd.read_csv(fileIn, names = ["image", "id", "label", "xMin", "xMax", "yMin", "yMax", "annotations"],
                  dtype={"annotations": str})

for i, item in csv.iterrows():
    height = csv.iat[i, 6] - csv.iat[i, 5]
    width = csv.iat[i, 4] - csv.iat[i, 3]
    x = csv.iat[i, 3] + math.floor(width / 2)
    y = csv.iat[i, 5] + math.floor(height / 2)

    props = {'label': objectLabel, 'type': 'rectangle'}
    props['coordinates'] = {'height': height, 'width': width, 'x': x, 'y': y}
    csv.iat[i, 7] = [props]

csv.to_csv('annotations.csv')
The first column we will name image to match as a unique key. Turi Create generates a SFrame (a subclass of a pandas DataFrame) the full path to the image. If we match the file name to the end of the full path, then we will be able to add array in the annotations column and to the generated SFrame. The annotations.csv should have an extra column and a header.
| … | yMin | yMax | annotations |
|---|---|---|---|
| … | 192.0 |
470.0 |
[{'type': 'rectangle', 'coordinates': {'y': 331.0, 'width': 88.0, 'x': 172.0, 'height': 278.0}, 'label': 'object'}] |
| … | 389.0 |
456.0 |
[{'type': 'rectangle', 'coordinates': {'y': 422.0, 'width': 164.0, 'x': 357.0, 'height': 67.0}, 'label': 'object'}] |
| … | 371.0 |
419.0 |
[{'type': 'rectangle', 'coordinates': {'y': 395.0, 'width': 132.0, 'x': 399.0, 'height': 48.0}, 'label': 'object'}] |
| … | 179.0 |
460.0 |
[{'type': 'rectangle', 'coordinates': {'y': 319.0, 'width': 220.0, 'x': 306.0, 'height': 281.0}, 'label': 'object'}] |
Run the script by specifying the location to the CSV, and it will create an annotations.csv in the directory the script is contained.
python convert.py input-csv.csvTraining the Model (Finally)
Now that we’ve set up the ground truth bounding boxes for our images in a format we can use, let’s make sure we’re ready to train!
Gathering the Files
The scripts currently rely on all of the files being in the same directory. The GitHub repository has all of these scripts listed below, and will have the most up-to-date changes.
training/
├── convert.py
├── annotations.csv
├── images/
│   ├── object/ <- named what you need
│   └── misc/ <- named 'misc' in the prep script
├── prep.py
└── train.py
Preparing for Training
The convert.py script shouldn’t be needed since it was used to add annotations to the CSV above. The train.py script comes next and has two variables that can be modified to suit your project needs.
-
objectLabel- The label of what to detect, and will show up in Xcode project
-
pathToImages- Path to the images folder in the directory above. Assumed to be a relative path if in the same directory as this script.
1
2
3
4
5
6
7
8
9
10
11
12
13
14
15
16
17
18
19
20
21
22
23
24
25
26
27
28
29
30
31
32
33
34
35
36
37
38
39
40
# prep.py
import turicreate as tc
from turicreate import SFrame
from turicreate import SArray
import pandas as pd
import os

objectLabel = 'Object'
pathToImages = 'images'

# Load images
data = tc.image_analysis.load_images(pathToImages, with_path=True)
# data = data.add_row_number('row')
csv = pd.read_csv('annotations.csv')
# From the path-name, create a label column
data['label'] = data['path'].apply(lambda path: objectLabel if objectLabel in path else 'misc')

# the data is in no particular order, so we have to loop it to match
# we also have the 'misc' images, which won't have an annotation, to skip
annotations = []
for j, item in enumerate(data):
    if item['label'] != objectLabel:
        annotations.append([]) # use empty array for 'misc' folder
        continue
    for i, row in csv.iterrows():
        if str(row['image']) == str(os.path.split(item['path'])[1]):
            # match image name in path
            annotations.append(eval(row['annotations']))
            break

# make an array from the annotations data, matching the data order
data['annotations'] = SArray(data=annotations, dtype=list)

# Save the data for future use
data.save('training.sframe')

data['image_with_ground_truth'] = tc.object_detector.util.draw_bounding_boxes(data["image"], data["annotations"])

# Explore interactively
data.explore()
The prep.py script loads the images into Turi Create, and matches up the annotations column with the files it found. It will add an empty array for non-object detection images, or if it matches the filename, it will add the annotation. It saves out the SFrame to a file for the last step that is the actual training process. If all of that is successful, it adds a new image_with_ground_truth column to the data to show an example of the image with a teal frame via the data explorer.
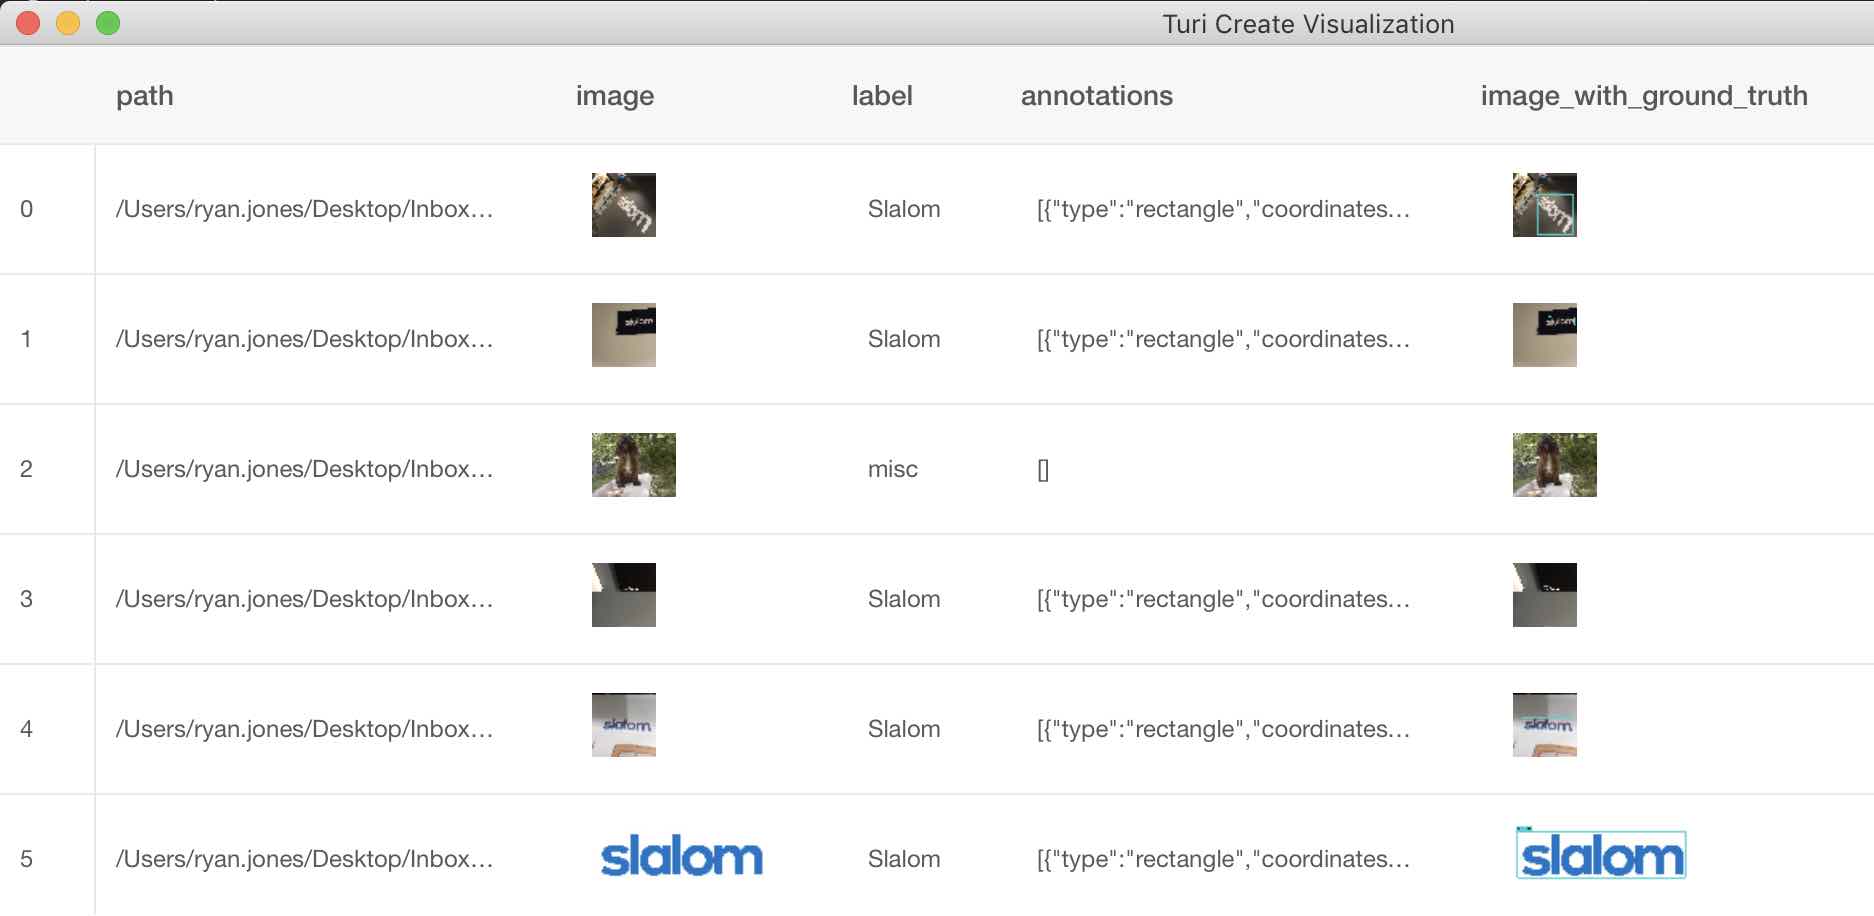 The last column shows the annotations we drew on the images
Training the model
This script could have been combined with the previous one. It’s good to take small steps, and this next one is the longest (unless you’re running an Nvidia card with CUDA).
The train.py script only has one variable the modelName which is ideally the objectLabel entered for the previous step. It doesn’t matter terribly as it is only used for the files saved to disk the trained .model file and the converted .mlmodel file for use in Xcode.
1
2
3
4
5
6
7
8
9
10
11
12
13
14
15
16
17
18
19
20
21
22
23
24
25
# train.py
import turicreate as tc

modelName = 'Object'

# Load the data
data = tc.SFrame('training.sframe')

# Make a train-test split
train_data, test_data = data.random_split(0.8)

# Automatically picks the right model based on your data.
model = tc.object_detector.create(train_data, feature='image', annotations='annotations', max_iterations=1000)

# Save the model for later use in Turi Create
# Important to save in case something after breaks the script
model.save(modelName + '.model')

# Mean average Precision
scores = model.evaluate(data)
print(scores['mean_average_precision'])
print(scores['accuracy'])

# Export for use in CoreML
model.export_coreml(modelName.title() + 'Classifier.mlmodel')
Running this script should take a good chunk of time on a GPU. Each of the iterations I outlined in Processing Images it took around 2.5 hours. Once that runs, the script immediately saves the .model to disk, since we want that data, even if the rest of the script fails. It can always be reloaded from disk for conversion. This script prints out a few data points about precision and accuracy, and then converts into the .mlmodel that Xcode needs (finally)!
Conclusion
The upcoming second part of this post, will show how to use this model in Xcode and how to utilize it with the Vision framework for real-time object detection.
Software versions used at the time of writing: Turi Create 4.0 and Python 2.7.